Hello and Ⓗⓐⓟⓟⓨ ⓝⓔⓦ ⓨⓔⓐⓡ! I checked the date on my last post and hollered out loud, "NO WAY!" I really could have sworn I wrote my last post in January. Apparently not! That being said, I sincerely apologize for the delay!
Do you want to know what I have been doing lately? I have been filling my brain with information. I have taken courses, participated in book studies, attended a conference....my brain is literally overflowing with information that I am SO EXCITED to share with you.
One thing I learned at the annual TCEA Conference last week was something called the Jigsaw Method. I attended an awesome session about the Jigsaw Method by TCEA's Lori Gracey. Now truthfully, I have known about the Jigsaw Method for a long time. But the presentation I saw was so clear, descriptive, and thorough... I had an "A-HA! Now I REALLY get it! And I can TEACH it!" moment. So let's take a few minutes to dive in to the Jigsaw Method.
Presenting the Jigsaw Method....
Why am I sharing this with you? BECAUSE the Jigsaw Method has an effect size of 1.2!! Remember we talked about John Hattie's effect sizes a few posts ago? Click here if you need a refresher.
This means, with consistent use of the Jigsaw Method in your classroom, you will increase your students' learning by THREE YEARS!! Say it with me....
So let me try to explain to you in simple terms, how the 🅙🅘🅖🅢🅐🅦 🅜🅔🅣🅗🅞🅓 works. Don't touch that dial! I know you might be certain you know what the Jigsaw method entails, but let's make sure! I thought I knew what it was, and I was wrong! Let's take a look... and for our demonstration today...we are going to use a KINDERGARTEN class. (Of course they can participate in the Jigsaw Method too!)
 |
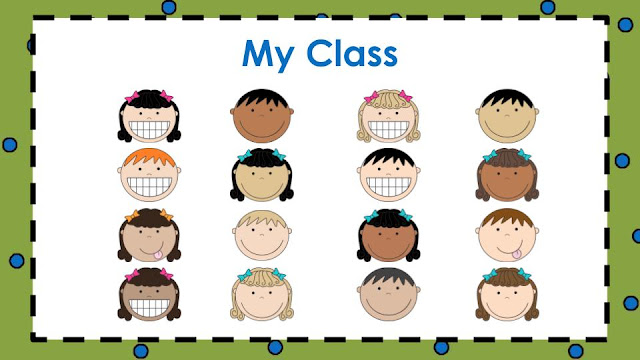
| They are adorable, aren't they? |
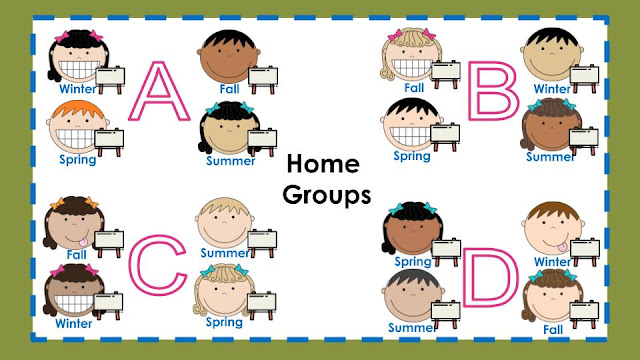
I will use the Jigsaw Method to help my students learn concepts of the four seasons. First I am going to take my students and divide them into four groups. Why four groups? Because there are four concepts I want my students to learn- winter, spring, summer and fall. (You want to keep your groups to about 3-5 students in each.) These groups are called HOME GROUPS.
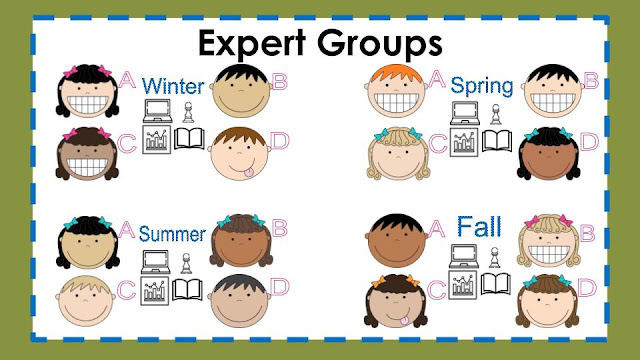
Next I'm going to take a student in each group and send him/her to an EXPERT GROUP. One expert group will learn about winter, one about spring, one about summer and the last group will learn about fall. I'm splitting the home groups up! Check it out...
 |
| Notice how there is a representative from each home group in the Expert Group. |
Now I will provide each expert group with materials to research, study, and explore the concept they are responsible for. I will also provide each student with a graphic organizer, a note-taking sheet or a drawing sheet to help guide their learning. In this case I am going to ask individual students to draw a picture that shows their understanding of the season.
The students in the expert groups will first have time to study individually, draw their picture and THEN they will make sure they understand all of the concepts by discussing with each other. They might even ask each other some clarifying questions!
What kind of learning materials could you present to your expert groups for study? In this case I have provided a video, an anchor chart, a learning game and a little book for each expert group. Onward! Learn, study, ask, discuss! Dig in!
 |
| Time to learn about winter, spring, summer and fall! |
 |
| Time to decide- how are we going to teach this concept to our home groups? |
Now that the expert students have come up with the plan, it is time for them to return to their home groups. Now each expert will teach the home group the concept he/she has learned!
- Determine which objectives will be covered in your jigsaw.
- Divide the content into small chunks. (Each chunk will be an expert group.)
- Gather materials/resources for your expert groups to learn the content.
- Create a graphic organizer, note taking page or drawing page to guide your expert groups.
- Come up with a final relating, connecting, digging deeper task for the home groups.
- Develop a timeline for the lesson. (This is too much to be completed in one day.)
- Decide who will be in which groups.
- Then let them begin!
- It allows content to be broken down into smaller chunks.
- It definitely encourages collaboration.
- Students are able to take control of their learning.
- Helps to build the students' self esteem as they become experts and teach their peers.
- It will free you up so you are able to check on individual students who need more help.
- It works across grade levels and content areas.
I hope this has been helpful for you and that you now have a better understanding of the Jigsaw Method. Of course, I would never just give you all of this information and then say, "See ya!" If you have any questions about the Jigsaw Method, or if you would like to try the Jigsaw Method in your classroom, please do not hesitate to reach out to me! As always, I am happy to help you!
Laptop Icon made by Freepik at https://www.flaticon.com
Pawn Icon made by Freepik at https://www.flaticon.com
Stats Icon made by Freepik at https://www.flaticon.com
Book Icon made by Goodware at https://www.flaticon.com
Table Icon made by Payungkead at https://www.flaticon.com


Mind blown!
ReplyDeleteThis is great!!
ReplyDelete